(Note: Before reading this article, you should first read about how TntConnect 3.0 helps you manage your paper and email newsletter lists.)
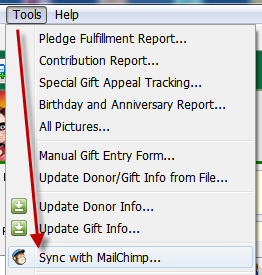
I'm going to walk through how TntConnect syncs with a list in MailChimp step by step. Hopefully this will demystify the process and give you more confidence to use this feature. To get started, under the "Tools" menu click "Sync with MailChimp":
You'll see this (if you've never synced before):
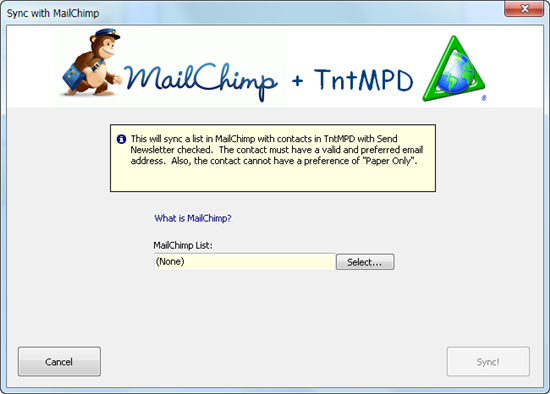
Selecting your MailChimp List and Setting Options
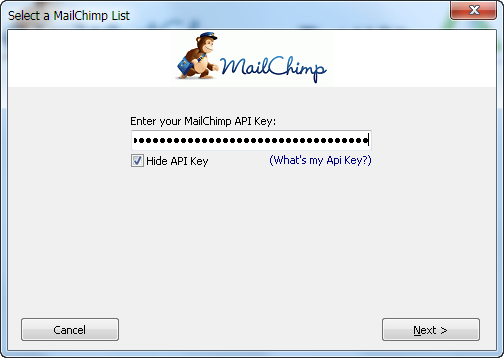
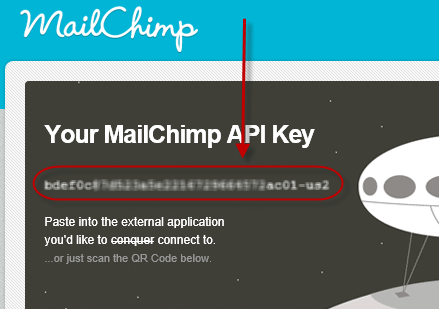
Click "Select" to select a MailChimp list. Then click "(What's my Api Key?)" to discover your MailChimp API Key. You'll need to copy and paste this into TntConnect:
The MailChimp website doesn't always redirect you to the "MailChimp API Key" page after logging in. So if you don't see this page, click that link from TntConnect again:
Back in TntMPD, click "Next" and you'll see a list of MailChimp lists. Select the MailChimp list you want to sync with:
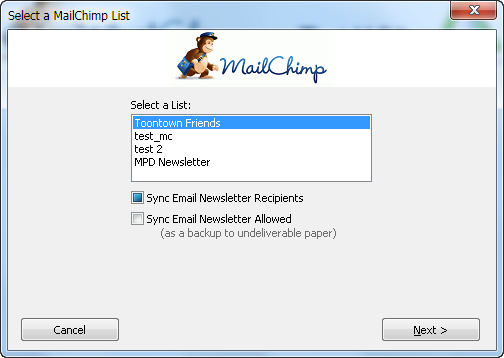
Notice the two check boxes below:
- Sync Email Newsletter Recipients
- Sync Email Newsletter Allowed
The first option is required. You can't uncheck it.
The second option (Sync Email Newsletter Allowed) is for advanced users only. By default it's turned off. If you check the box, any newsletter recipient that has a valid/preferred email and is not "Paper Only" will be included in the sync process. This option is there in case you want to send an email to everyone that receives your newsletter, even if you normally send it as paper. You can do list segmentation within MailChimp on the "Receives Email Newsletter" and "Receives Paper Newsletter" to customize your mailings.
Click "Next" and you'll have one last page of options:
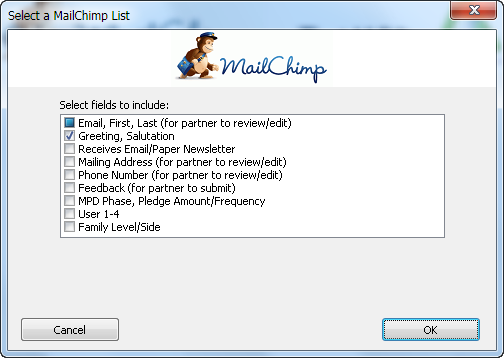
Here you can select all the fields you might want to include in MailChimp. The default fields are: Email, First, Last, Greeting and Salutation. The fields marked with (for partner to review/edit) are marked as "public" in MailChimp, and you can include these in sign-up forms and any other form where partners can edit their information. TntConnect will watch these fields for changes and bring them to your attention within TntConnect.
A new feature in TntConnect 3.0 is that you can change the field labels (and if the field is required or not) within MailChimp. You just can't change the "merge tag" as this is what TntConnect uses to know what the field is. The ability to change the field labels might be really nice if it the label came from TntConnect in English, and your partners don't speak English!
Click "OK" after you make your choices.
Automatic Sync Actions
Click "Sync" and some actions will be automatically performed:
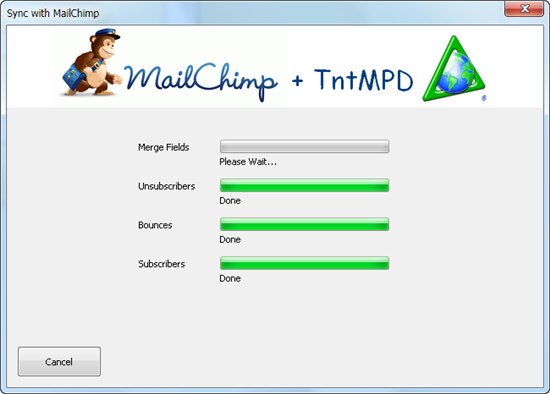
While you wait, you'll see some progress bars. But what's going on? TntConnect is looking at actions that occurred on your MailChimp list since you last synced:
- Bounces ... emails that came back undeliverable
- Unsubscribes ... partners chose to unsubscribe from your email newsletter
- Updates ... partners changed their own information:
- Email Address
- First Name
- Last Name
- Mailing Address
- Phone Number
- Feedback
Bounces
When an email bounced (came back undeliverable), TntConnect:
- Marks the email as not valid
- Logs a history
- Schedules a task to investigate
Unsubscribes
When a partner unsubscribes from your email newsletter, TntConnect:
- Marks the email as not preferred
- Logs a history
- Schedules a task to investigate
Updates (from MailChimp)
When a partner changes their email address via MailChimp's forms, TntConnect:
- Changes the email within TntConnect
- Logs a history
When a partner changes their First Name, Last Name (or the optional Mailing Address or Phone Number), TntConnect:
- Logs a history
- Schedules a task to investigate
- Resets their changes back to what's in TntConnect (so be sure to check your tasks to investigate)
When a partner submitted "Feedback" (an optional public field TntConnect can include in your list options), TntConnect:
- Logs a history
- Schedules a task to investigate
- Clears the feedback
Updates (from TntConnect)
After handling Bounces, Unsubscribes and Updates (since the last sync), TntConnect will update all the fields in MailChimp (where the email address is also in TntConnect).
Deleting from MailChimp when no longer in TntConnect's email newsletter list
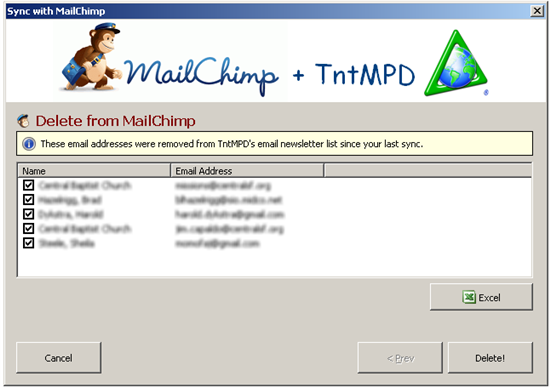
When you mark an email address in TntConnect as invalid, not preferred or change their newsletter preference to not include email (or perhaps they no longer need an email backup to their paper newsletter), TntConnect will prompt you to remove that email address from your MailChimp list. It only does this when it can positively identify that the email address was previously synced with MailChimp for this same database. And as a precaution, it will log a history (so you could undo the action) and it gives you a chance to veto this action:
This covers automatic actions. Now on to manual actions:
Manual Sync Actions
After automatic sync actions take place, if there are any further discrepancies between your email newsletter list and your MailChimp list, TntConnect will bring this to your attention.
For our example, we'll start off with an email newsletter list like this (based on the "Email Newsletter List" lookup):
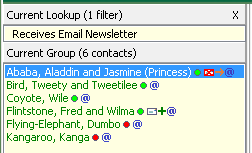
Our list in MailChimp looks like this:
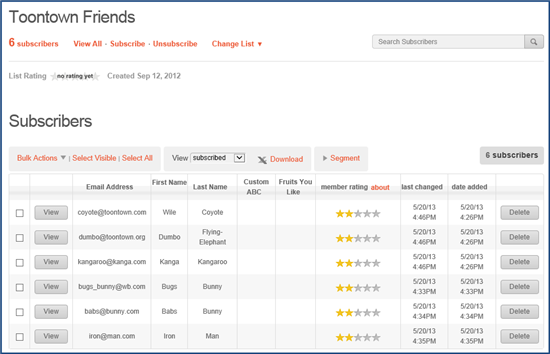
There is some overlap.
Only in TntConnect
Now the MailChimp sync dialog shows email address only in TntConnect's email newsletter list:
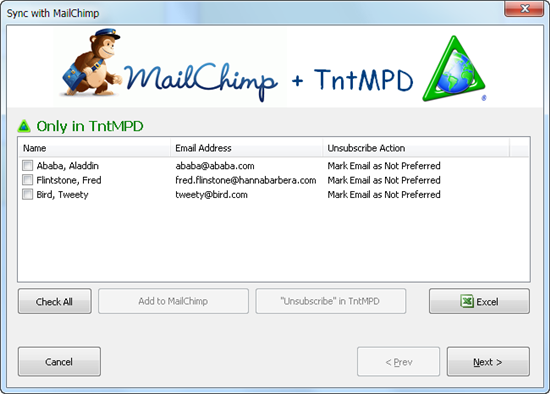
You could click "Next" and leave it alone. But if you want your email newsletter list in TntConnect and your MailChimp list to match, click "Check All":
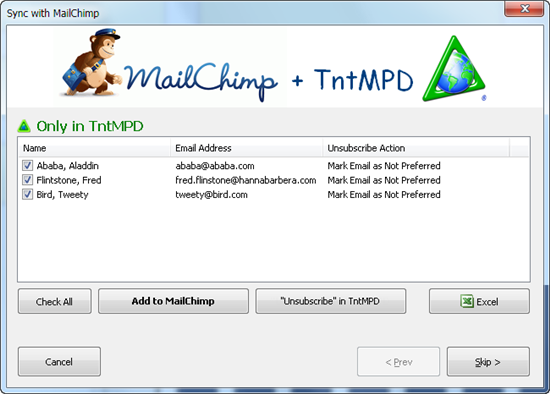
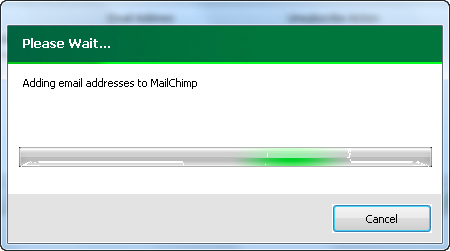
Then click the button "Add to MailChimp" (notice it's in bold ... the recommended action). Wait a few seconds:
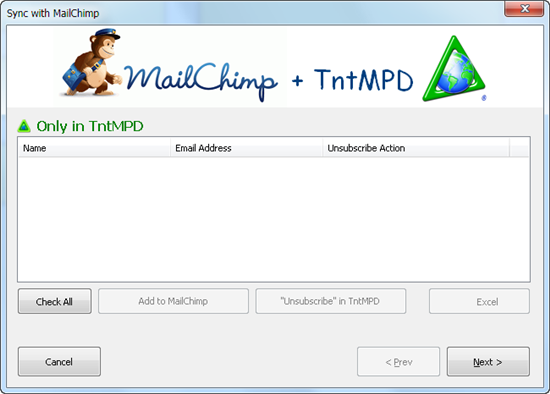
Now it shows that there's no longer any TntConnect-only email addresses, so you can click "Next":
Only in MailChimp
Next you'll see email addresses that are only in MailChimp. This could be because people have signed up to receive your newsletter via a sign-up form:
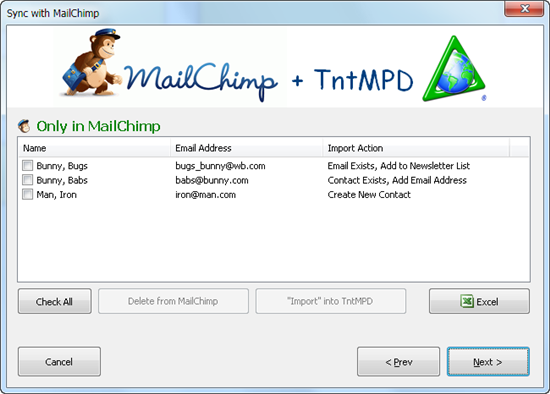
Click "Check All":
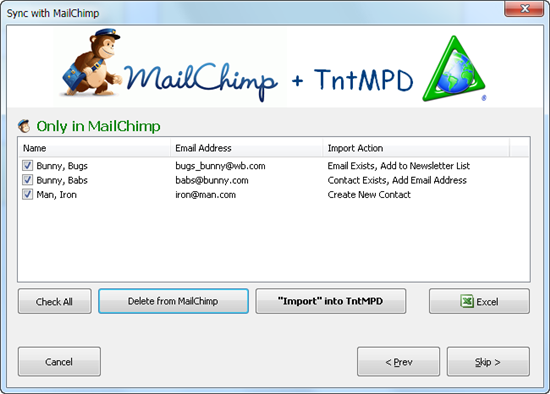
Now click "Import into TntConnect" (the button in bold ... the recommended action). Notice the "Import Action" column. This tells you what will happen. Three things can happen. If the email address already exists, but the contact is not in the email newsletter list, it will include them in the email newsletter list by changing their preference. If the contact exists, but not the email address, it will address. If the contact does not exist, it will create a new contact. (note: you can right-click on "Create New Contact" to manually select a matching contact). No matter what, it will ensure that the contact is in the email newsletter list, and that the email is valid and preferred. It will also log a history.
After the import, you'll see an empty list to confirm that there are no longer any MailChimp-only email addresses:
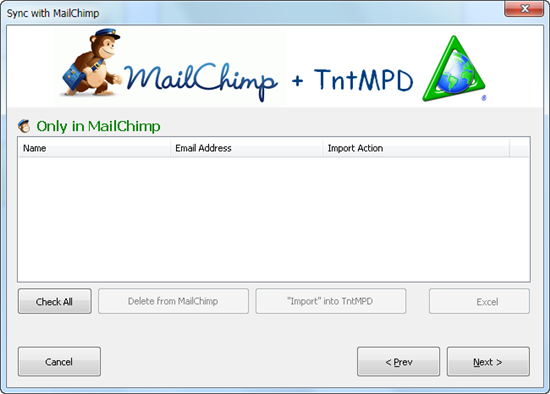
Click "Next":
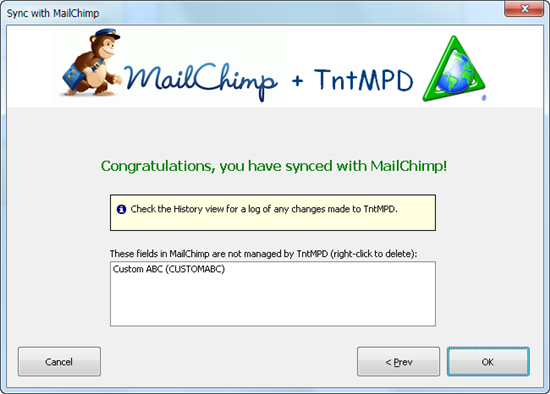
It mentions two things:
- A reminder to check your history view (if you want to lookup the contacts where action took place).
- If there are any fields in MailChimp not managed by TntConnect (you can right-click to delete the fields if you want).
Let's check the history:

Notice the three import actions resulted in a history.
On the task list, a task is scheduled to confirm the Bugs Bunny's newsletter preference change (from Paper w/ email backup):

Here's what Bugs Bunny now has for an newsletter preference (Paper and Email):

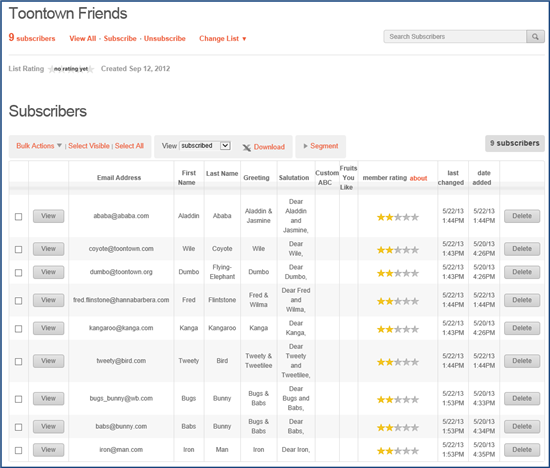
Finally, here's our MailChimp list after our first sync:
Hopefully this step by step walk through will help you better understand what's going on and give you confidence to try out this feature!