Setting up a new Saved Group
In this example, we will set up a Saved Group called "Friends with Superpowers" that identifies all the members of our ToonTown database who have special superpowers.
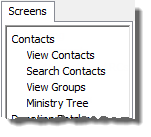
1.Select the <View Groups> link.
2.Since this is your first group, your entire Groups screen will be blank:
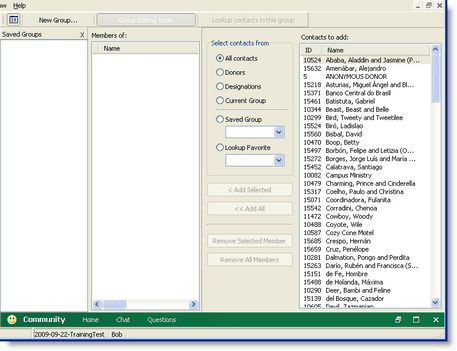
3.Press the <New Group> button.

4.Enter a name for your group. Type "Friends with Superpowers".
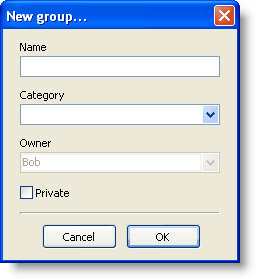
Name
|
(Required) Name of this item.
|
Category
|
(Optional) By entering a name in this box, you are creating a Category. This allows you to add other items to the same category.
|
Owner
|
The name of the DonorWise user who created this item.
|
Private
|
By checking this box, you are saving this item for your use only. If the box is unchecked, the lookup will be available to all DonorWise users in your organizations.
|
5.You will now see the full Groups View, which has three panels.
Column 1
|
Saved Groups
|
The list of all your Saved Groups.
|
Column 2
|
Members of:
|
The members of the selected Saved Group.
|
Column 3
|
Select contacts from
|
Several options for you to compare your Saved Group for the purpose of adding or removing members.
All contacts
|
Everyone in your database
|
Current Group
|
Whatever the Current Group is at this moment (on the View Contacts screen)
|
Saved Group
|
Any other Saved Group
|
Lookup Favorite
|
The contacts who would be selected after you ran a favorite lookup
|
|
Column 4
|
Contacts to add:
|
The list of all contacts in the comparison list.
|
Press the <Group Editing Tools> button.

This will toggle the group editing columns on or off.
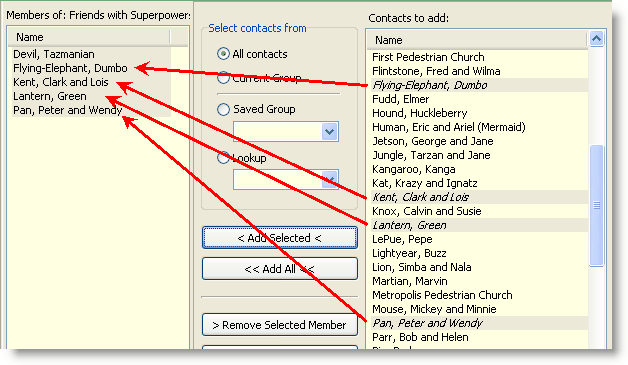
6.Select "All contacts". Then select the contacts from the list on the right.
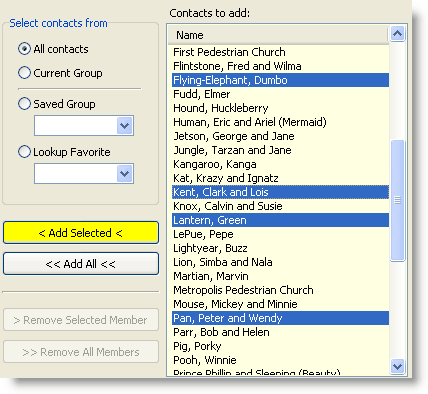
Press the <Add Selected> button.

7.Notice that the contacts in the right are now grayed out and italicized. This indicates that these contacts are in the group.
8.Press the <Lookup contacts in this group> button.

9.Finally, you can view which Saved Groups any contact is a member of by clicking on the Groups Tab.
